A Beginner’s Guide to Stained Glass
Conway Glass Inc
Learn an Ancient Craft
There is something almost magical about holding a piece of colored glass up to the light — the way a ruby red suddenly blazes like a coal, or how a cobalt blue seems to pull the whole sky right into the room with you. Stained glass has been stirring that kind of wonder for over a thousand years, and here is the beautiful part: you do not have to admire it from a distance. Anyone can learn to create it.

Whether you stumbled across a stunning church window on vacation, fell in love with a Tiffany lamp at an antique market, or simply want to try something creative and new, this guide is your friendly starting point. We are going to walk through what stained glass actually is, where it came from, how it is made, and what you will need to get going.
What Is Stained Glass, Exactly?
Stained glass is colored glass that has been cut, shaped, and joined together to form a picture or pattern — the kind you see letting streams of jewel-toned light pour through a window or panel. The color lives inside the glass itself, fused in during manufacturing by adding metallic compounds: cobalt for blues, iron for greens and ambers, selenium for reds. When sunlight passes through, those colors come alive in a way no paint on a wall ever could.
Traditional stained glass pieces are made up of many individual glass shapes connected by strips of lead (called came) or wrapped in copper foil and soldered together. The result is simultaneously a structural object and a work of art — practical and breathtaking.
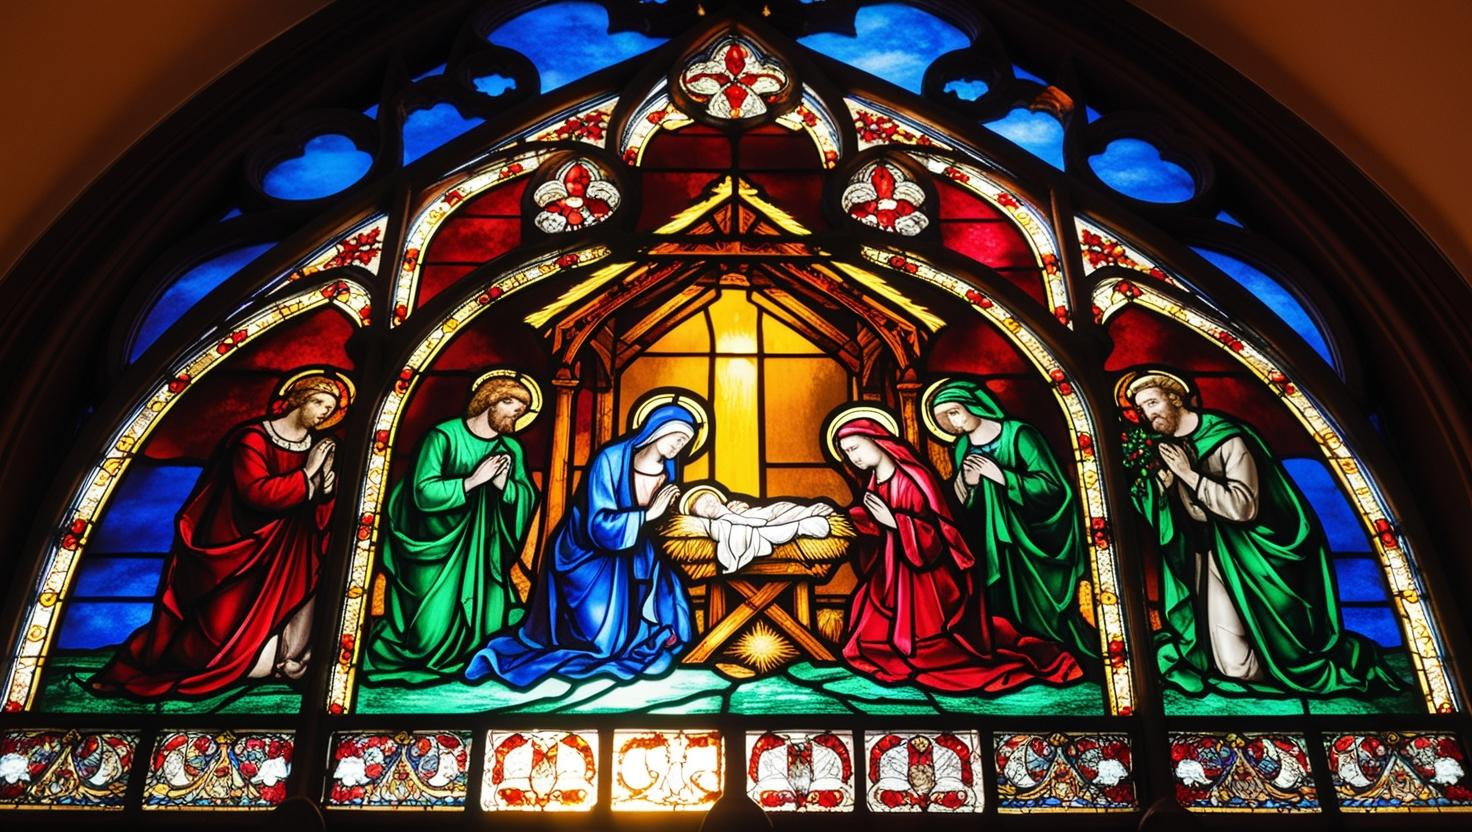
Cathedral Stained Glass
A Quick History: From Cathedrals to Living Rooms
The earliest examples of stained glass can be traced to the Roman Empire, where colored glass was used in mosaics. Stained glass, as we know it, traces its roots to medieval Europe. Craftspeople in the 10th and 11th centuries were already fitting colored glass into the windows of monasteries and cathedrals, using thick lead to hold the pieces together. By the 12th century, the great Gothic cathedrals of France and England were showcasing floor-to-ceiling narrative windows — jewel-toned illustrations of scripture that glowed like lanterns. For many in those congregations who could not read, those windows were the Bible.
The craft evolved steadily through the Renaissance and beyond, but it was the late 19th century that ushered in a true golden age of decorative stained glass. Louis Comfort Tiffany, working in New York in the 1880s and 1890s, revolutionized the medium with a new process: wrapping each piece of glass in thin copper foil and soldering them together. His lamps and panels — full of swirling florals, luminous dragonflies, and soft landscape gradients — changed what stained glass could look like and feel like. Today, both his technique and the older lead method are very much alive, practiced by studios and hobbyists all over the world.
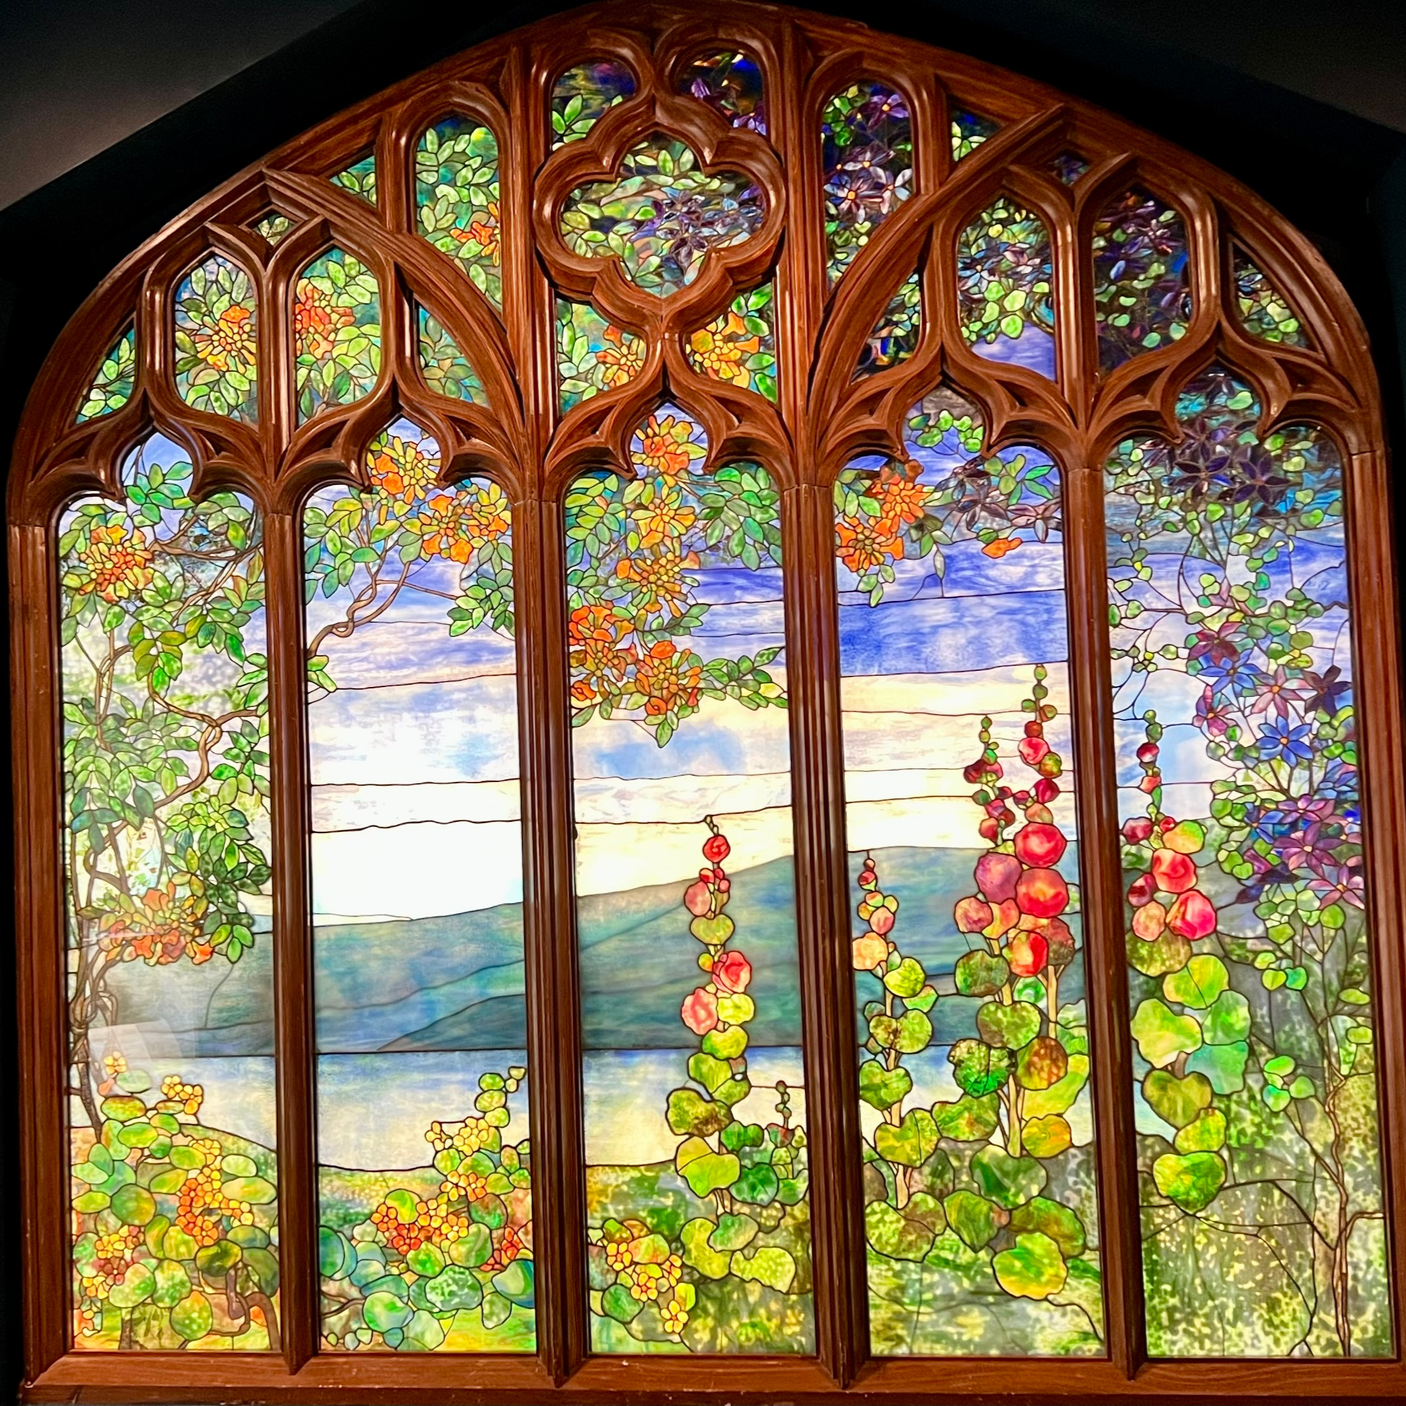
Louis Comfort Tiffany
The Two Main Beginner Techniques
If you are new to stained glass, you will likely encounter two foundational methods. Both produce beautiful results; the right one for you depends on the look you are after and the style of project you want to tackle.
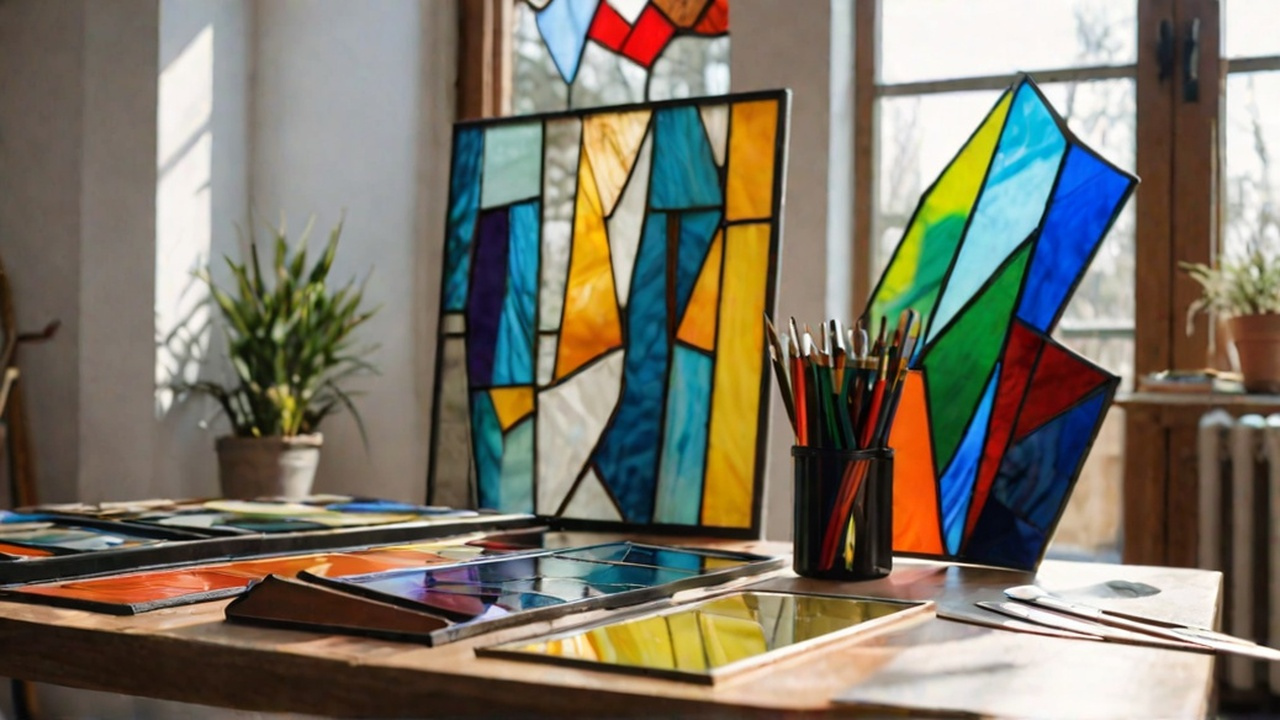
Abstract Projects
The Copper Foil (Tiffany) Method
This is where most beginners start, and for good reason — it is approachable, forgiving, and endlessly versatile.
In the copper foil method, each piece of cut glass is wrapped along its edges with a thin strip of adhesive copper foil tape. Once all the pieces are foiled and arranged in the design, solder is flowed over the copper to bind everything together. Because solder follows copper wherever it goes, this technique allows for remarkably intricate curved shapes and fine detail — it is how Tiffany achieved those dreamy, organic forms.
Copper foil projects may be panels, suncatchers, ornamental pieces, and lamps. The seams are relatively thin and delicate, giving the finished work an elegant, painterly quality. If you find yourself captivated by flowing botanicals, geometric mosaics, or anything with fine linework, the Copper Foil Tiffany Method is your natural starting place.

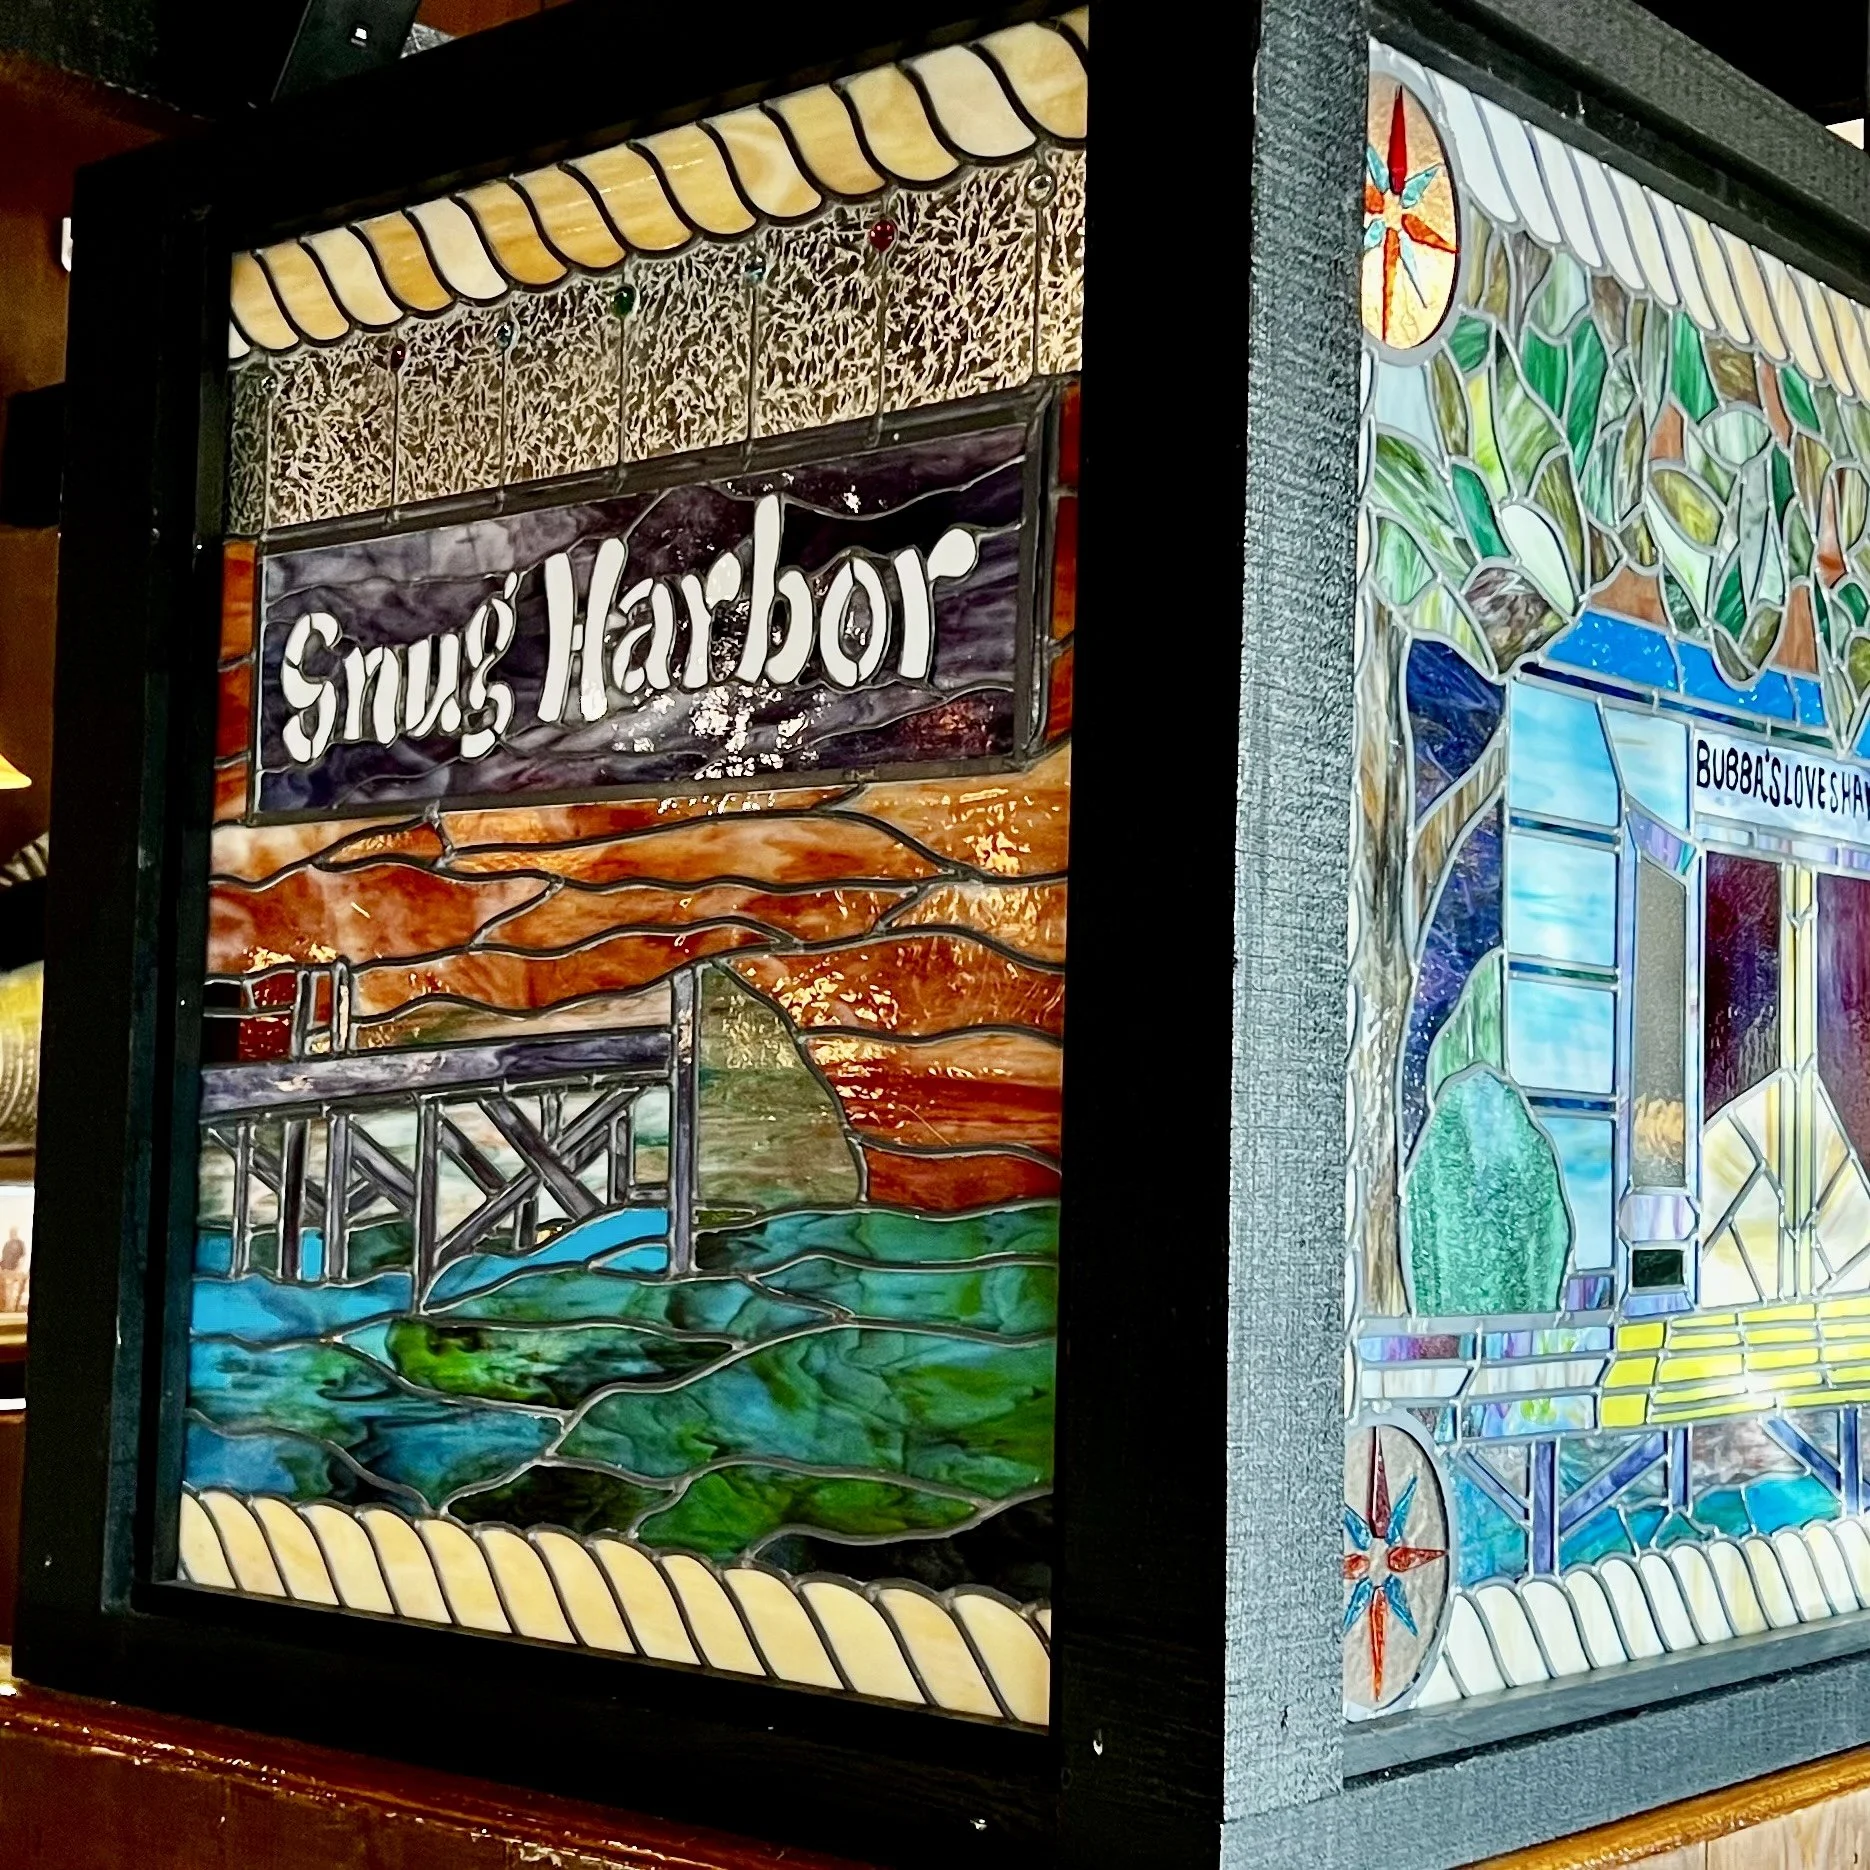
Leaded Stained Glass
The Old English Lead Method
The lead method — sometimes called the came method — is the older of the two techniques, and it is the one behind most of the grand windows you will see in historic churches and public buildings.
Here, pieces of cut glass are fitted into grooved strips of lead (the came), which are then soldered at each intersection to lock the design in place. Lead came is rigid, which means this technique tends to suit larger panels with bolder shapes and stronger lines. The aesthetic is more architectural — think sweeping geometric patterns, stylized figures, or dramatic coastal designs with thick, expressive outlines.
Once you have the copper foil basics under your belt, the Old English Lead Method is a natural next step. At Conway Glass, we teach both — our Beginner class covers copper foil, and our Intermediate class moves into lead work, so you can build your skills progressively.
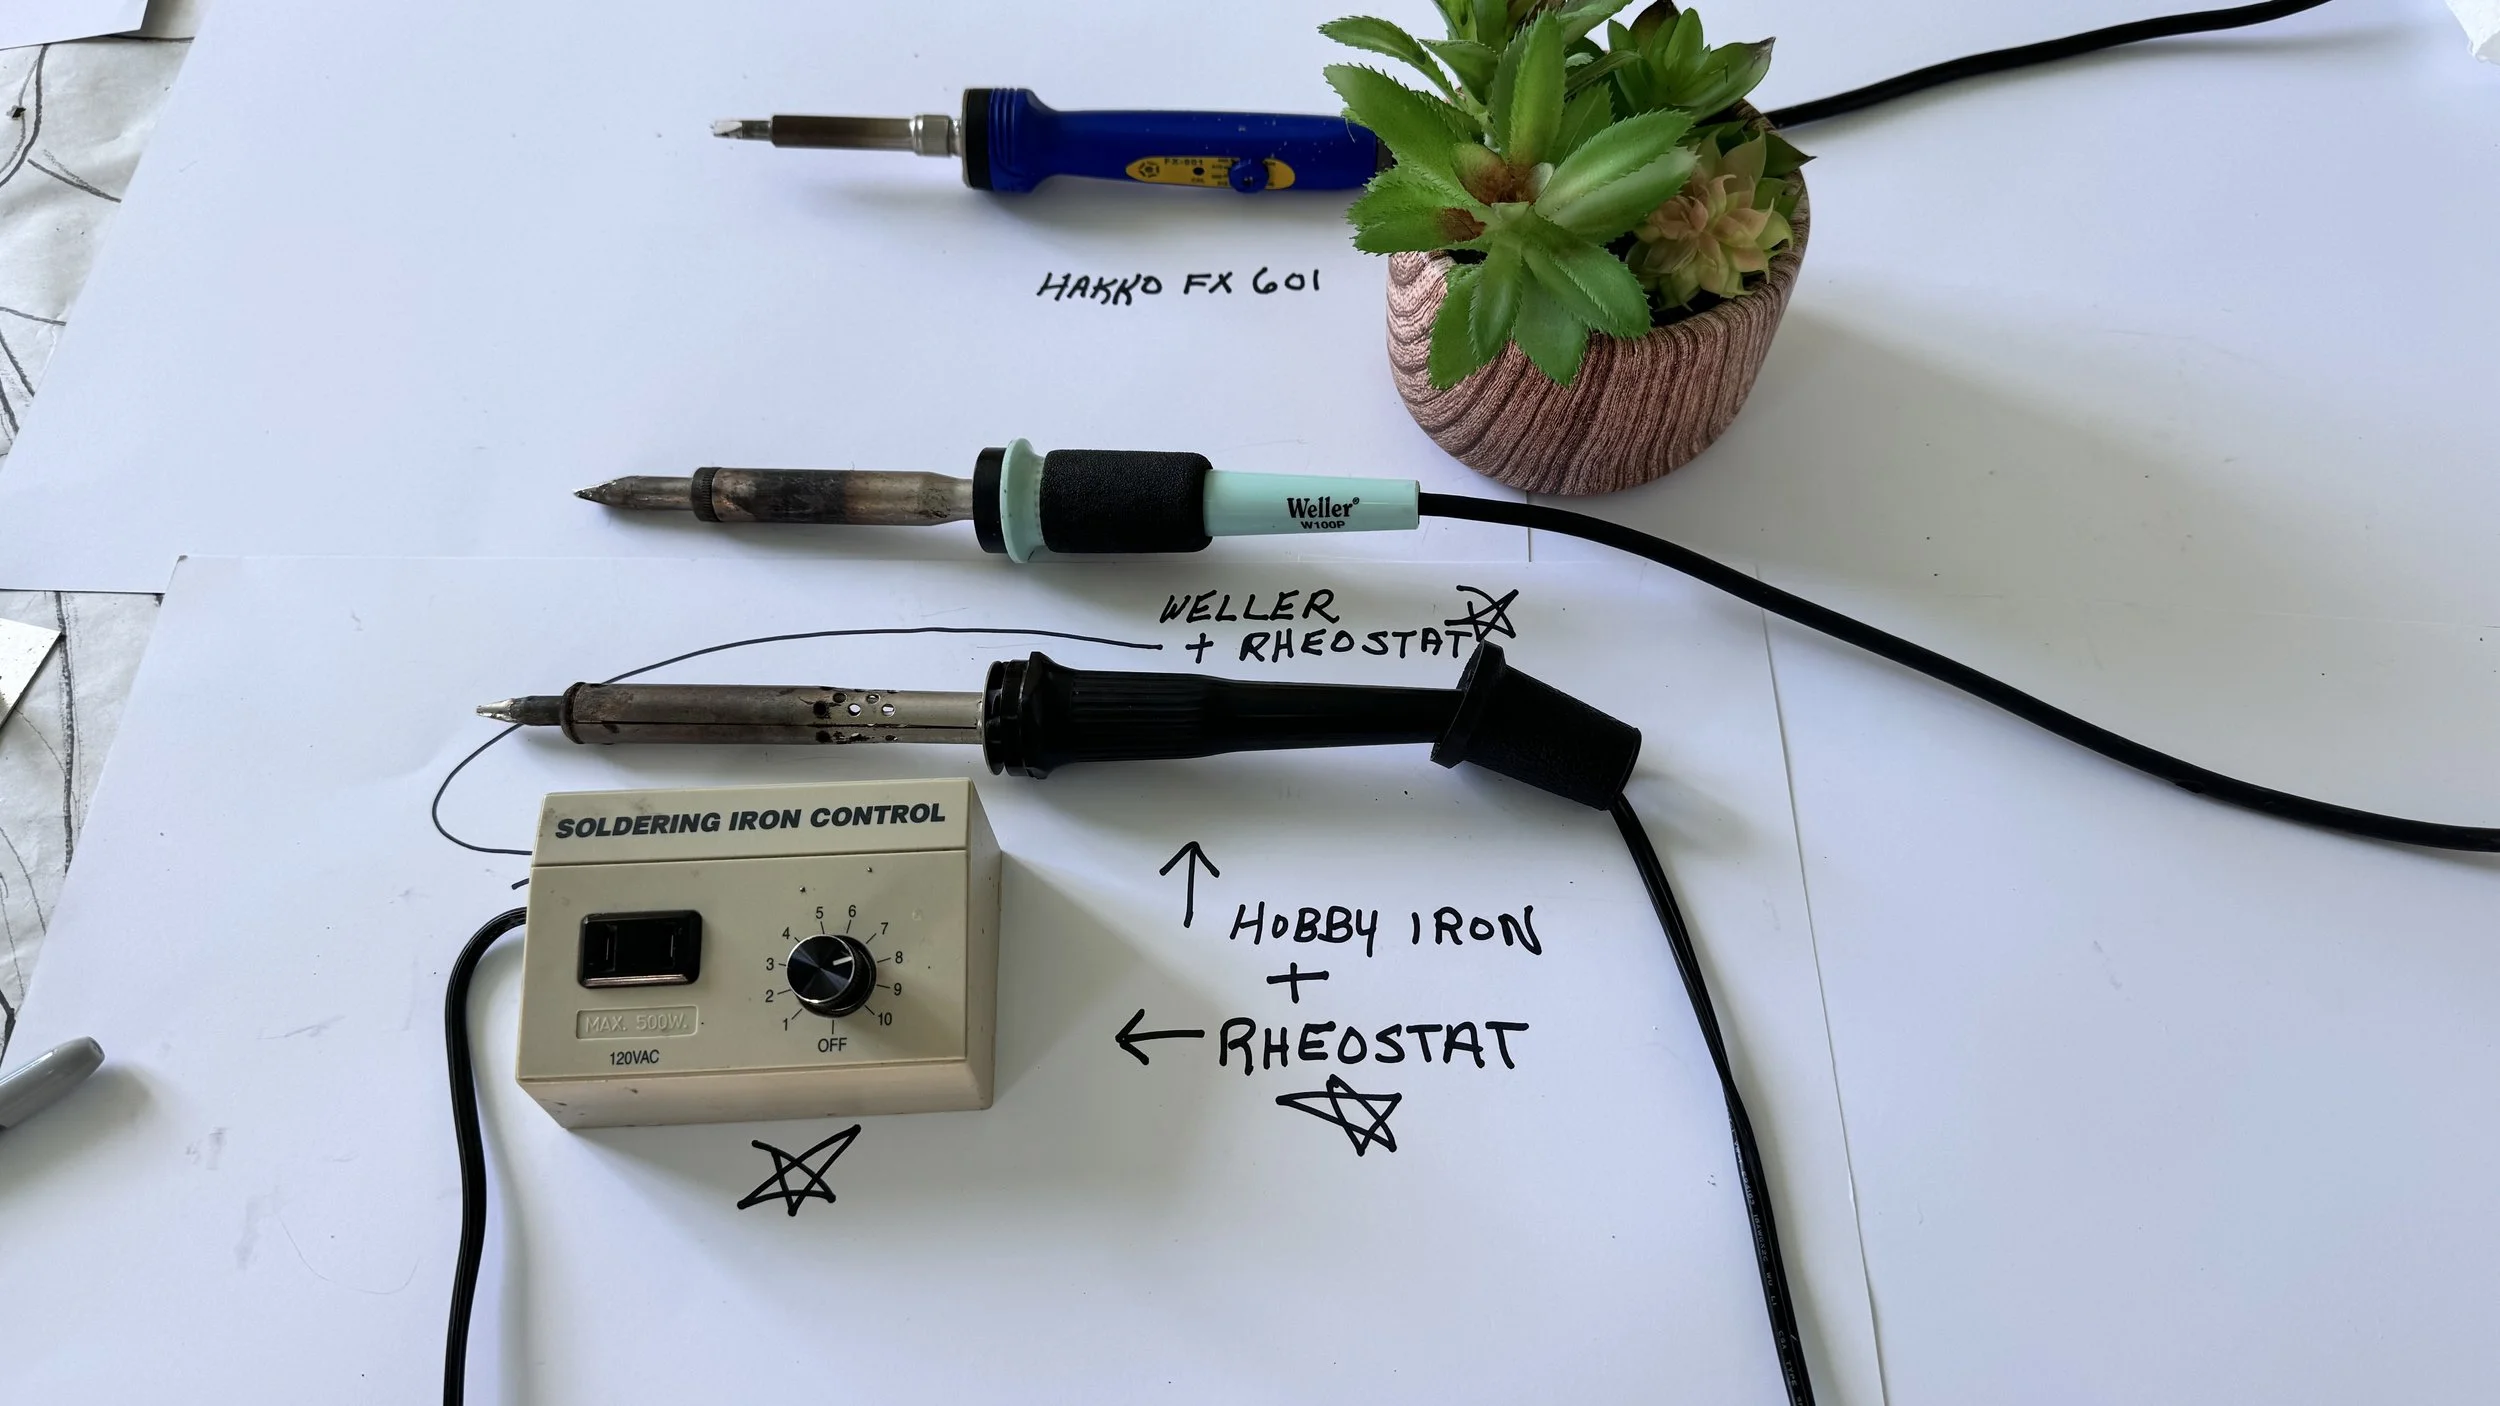
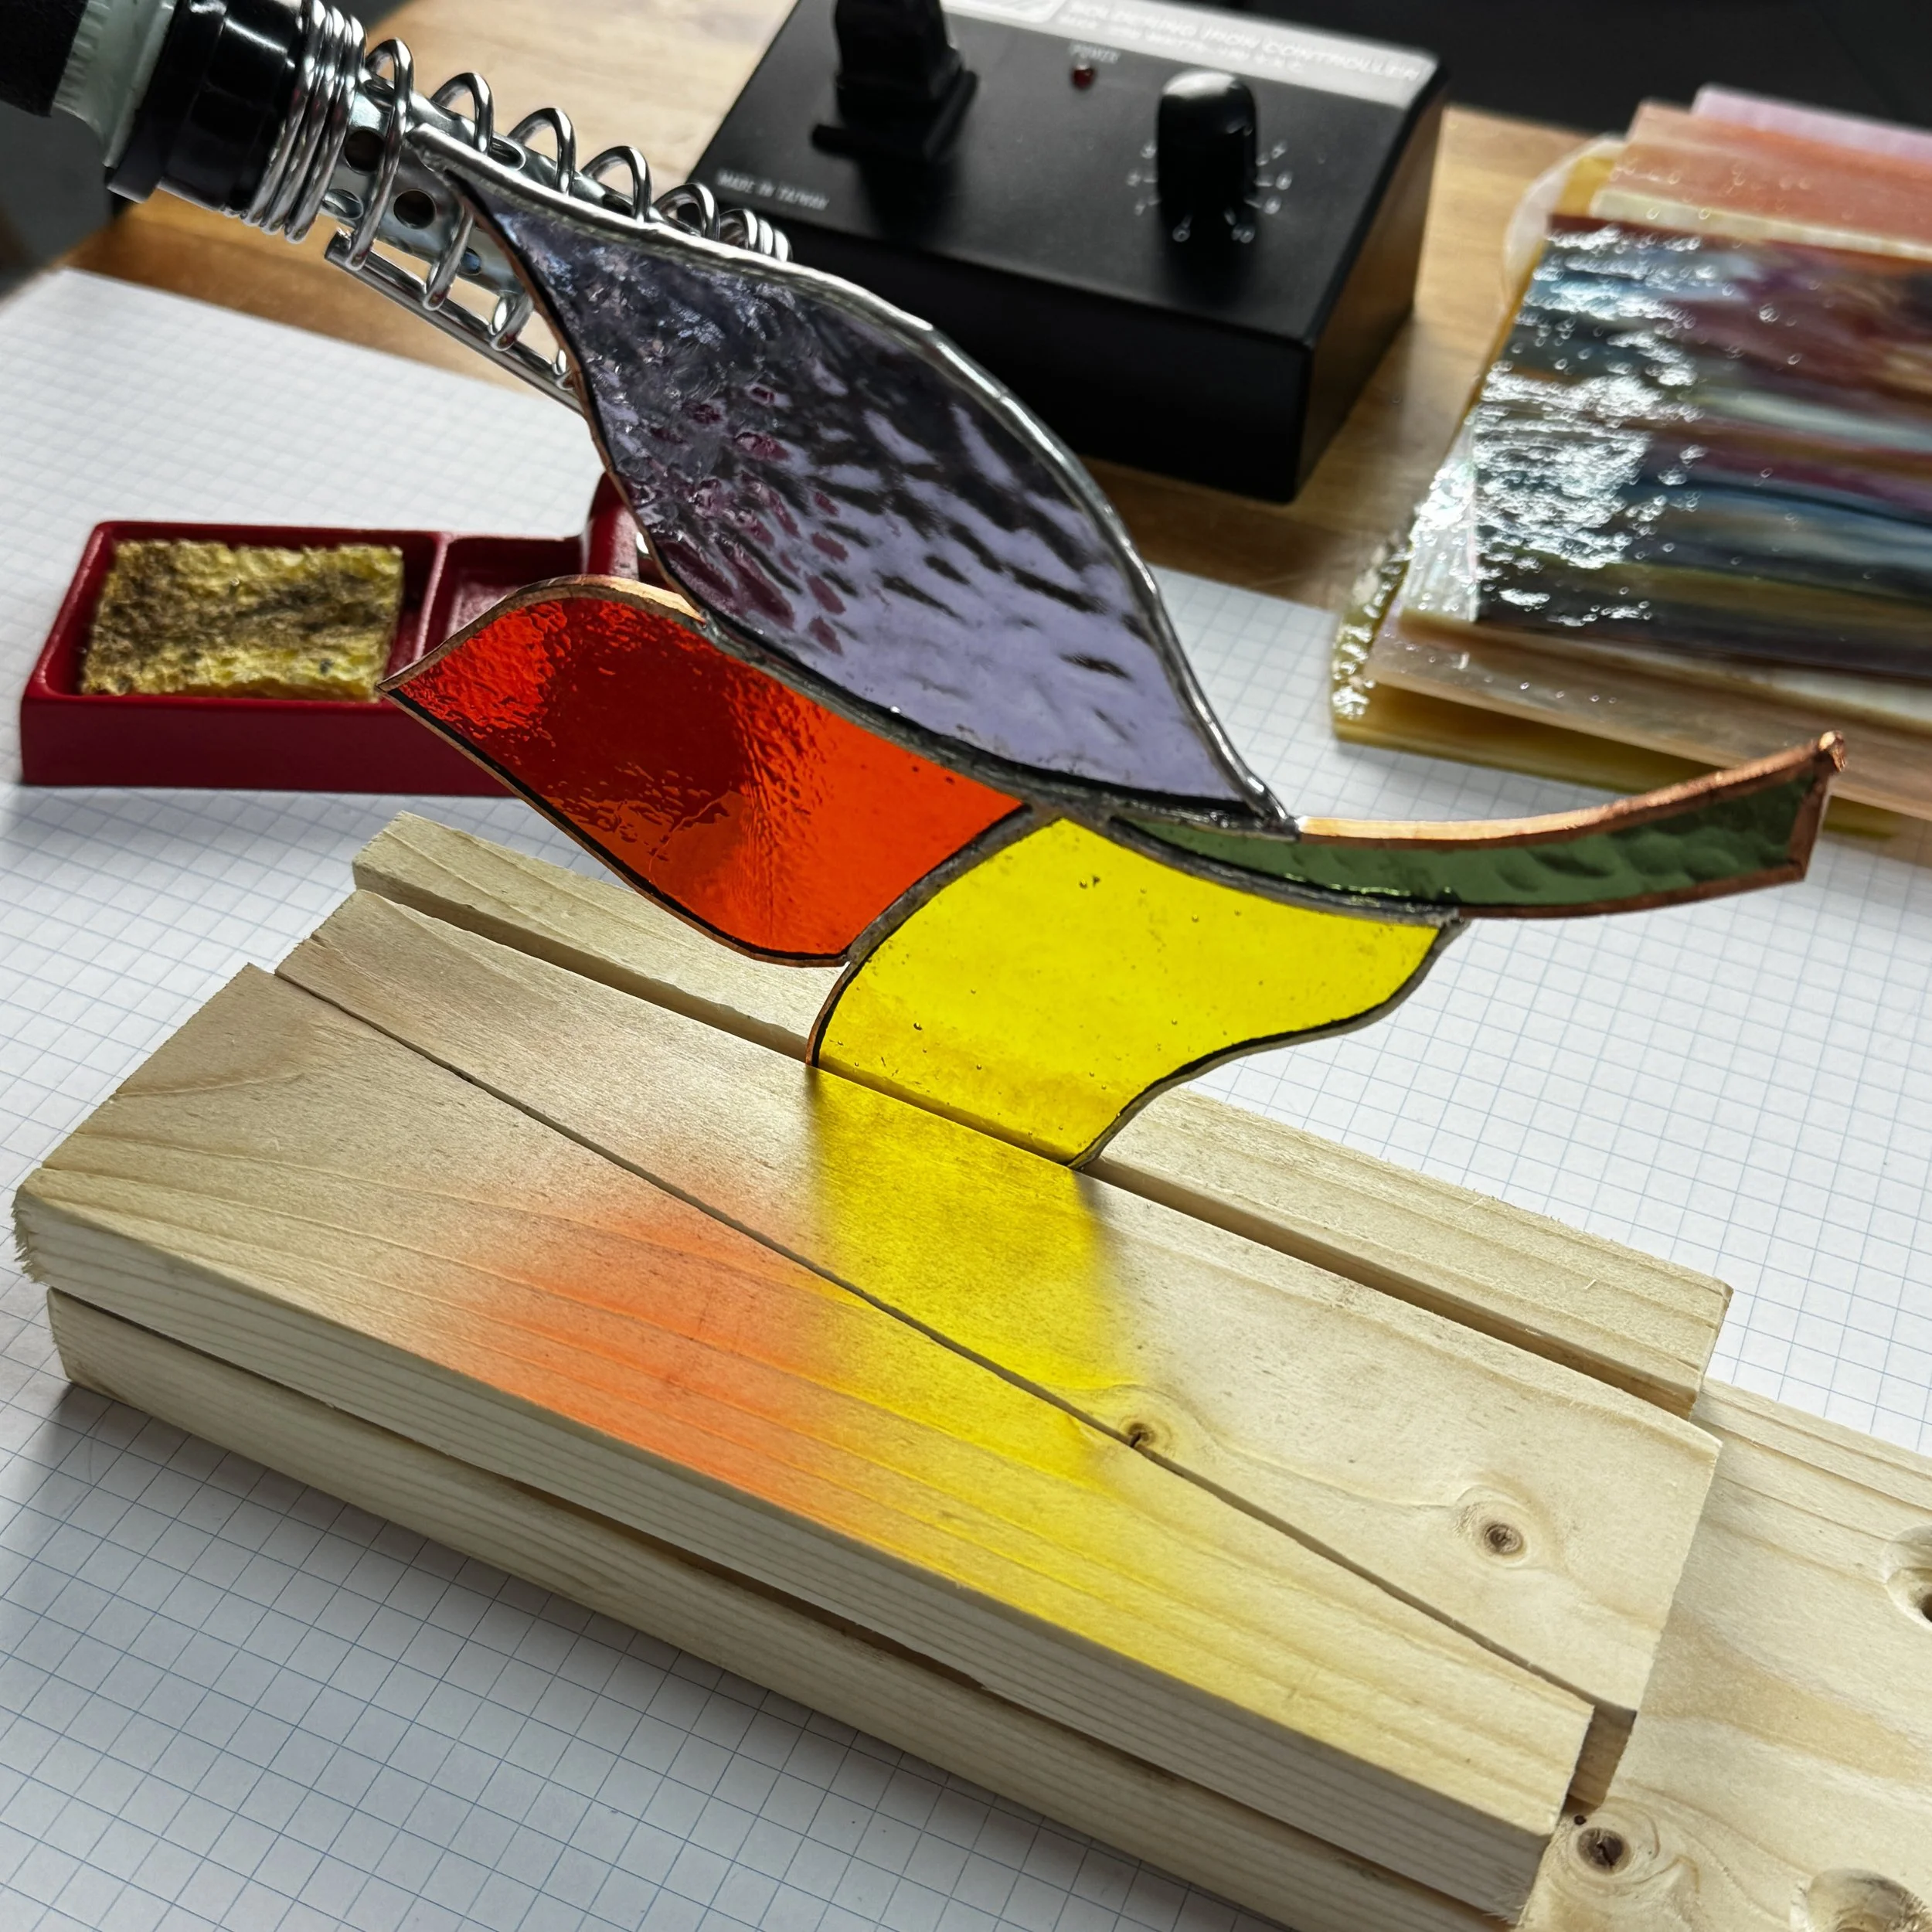
Soldering Irons
Essential Tools for Getting Started
You do not need a workshop full of equipment to begin. Here is the honest beginner toolkit — the things you will actually reach for on every project:
Glass Cutter — Your most important tool. A quality scorer with a comfortable grip makes clean, confident cuts possible. Look for one with a carbide wheel.
Smoothing Stone (Carborundum Stone) — After cutting, the glass edges are sharp. A smoothing stone grinds them down so they take copper foil cleanly and safely. Never skip this step.
7/32 Black Backed Copper Foil — The standard foil width for most beginner projects. The black backing gives your finished seams a darker, more defined look that suits most designs beautifully.
Soldering Iron with Temperature Controller — A quality iron with an adjustable temperature dial is non-negotiable. Too cool, and solder will not flow; too hot, and you will scorch the foil and crack glass from the heat. A controller puts you in command.
60/40 Solder and Ruby Flux — The classic ratio of tin to lead for solder and easy clean-up flux for stained glass work. It flows smoothly, levels well, and is forgiving for beginners still learning to “tin” a seam.
As you grow, you will add came tools, a light table, and more — but these six will carry you through your first several projects with confidence.
Five Tips for Absolute Beginners
Start with simple shapes. Straight lines and gentle curves are your friends at first. Save the intricate feather designs for later; a clean geometric panel will teach you everything you need to know about cutting, foiling, and soldering.
Keep your iron tip clean. Wipe the tip on a damp sponge regularly as you work. A clean tip flows solder beautifully; a dirty one fights you every step of the way.
Go slow on cuts. One smooth, confident stroke of the cutter is what you want — not a back-and-forth scrubbing motion. Score once, then break the glass cleanly.
Apply foil evenly. Center the glass edge on the foil tape as you wrap, then press the sides down firmly. Uneven foil leads to uneven solder lines, and solder lines are where your eye goes first on a finished piece.
Let yourself be a beginner. Your first few pieces will have wobbly seams and imperfect cuts — that is not failure, that is learning. Every glassworker who has ever created something stunning has a box of “first projects” somewhere that they smile about now.
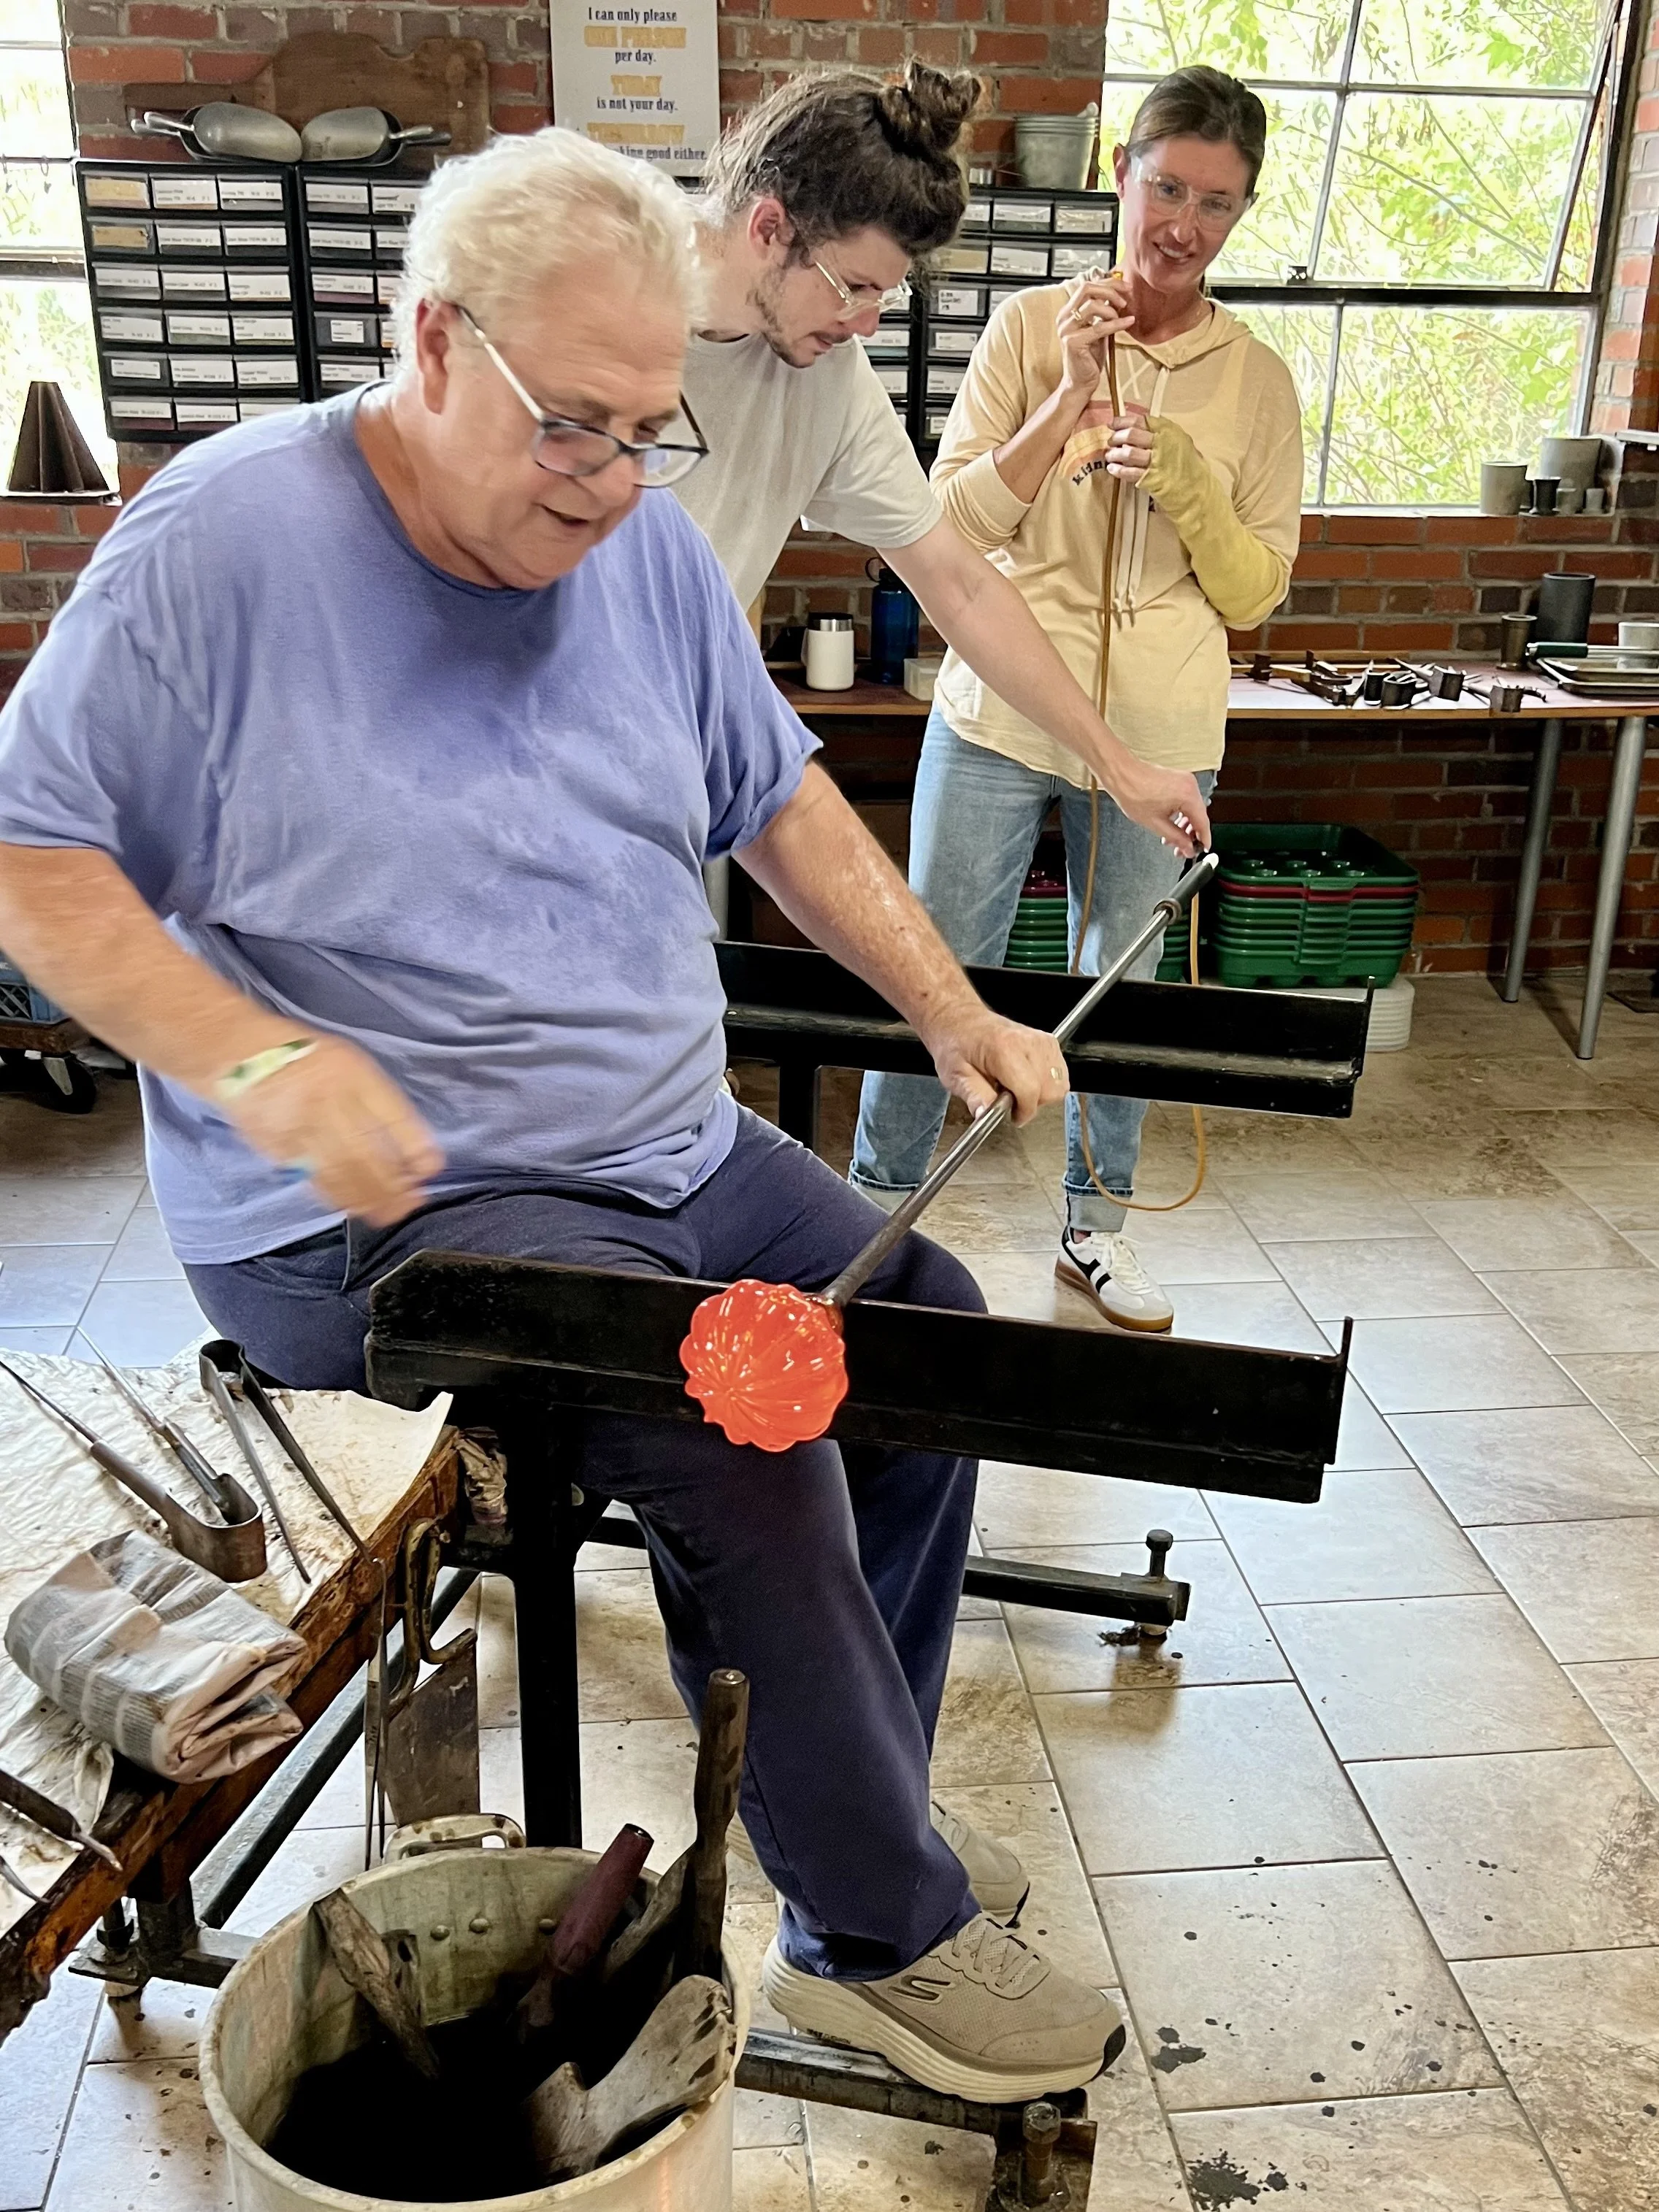
Ready to Try It for Yourself?
There is only so much a guide can do. The real magic happens the moment you hold a glass cutter in your hand, hear that satisfying score, and watch two clean-cut pieces of glass snap apart just where you wanted them to.
Conway Glass, in historic Conway, South Carolina, offers hands-on stained glass workshops for beginners and intermediate students in our warm, welcoming studios — just 11 miles from Myrtle Beach. Our Beginner class walks you through the Copper Foil Tiffany Method from start to finish, and when you leave, you'll have a finished piece you made yourself. No experience needed — just curiosity and a willingness to play.
If you cannot make it to the studio, join Ed and Barb on the ARTyRV YouTube channel every Monday at 7 PM EST for a live Q&A where no question is too basic. With free tutorials, technique deep-dives, and a community of glass lovers from around the world, it is the next best thing to being here in person.
Visit conwayglass.com to browse upcoming workshop dates, or head to YouTube and search ARTyRV to start learning right now.
The glass is waiting. Come see what you can do with it.
Conway Glass is a family-run artisan studio in Conway, South Carolina, offering blown glass, stained glass, custom installations, and hands-on workshops. Open to the public on Wednesdays, 10 AM – 3 PM, with appointments available on Tuesdays, Thursdays, and Fridays.
Drunken’ Jack’s Restaurant, Murrells Inlet, SC

We just reached 50,000 subscribers — thank you for being a valued part of our stained glass community!